
A Report header is a custom image that sits at the top of your Artwork Archive Reports, the way letterhead sits at the top of your stationery. Upload it once and you can add your branding to any Report that supports it.
Note:
Your Report header now lives on the Reports page under Saved Header.
Upload Your Report Header from the Reports Page
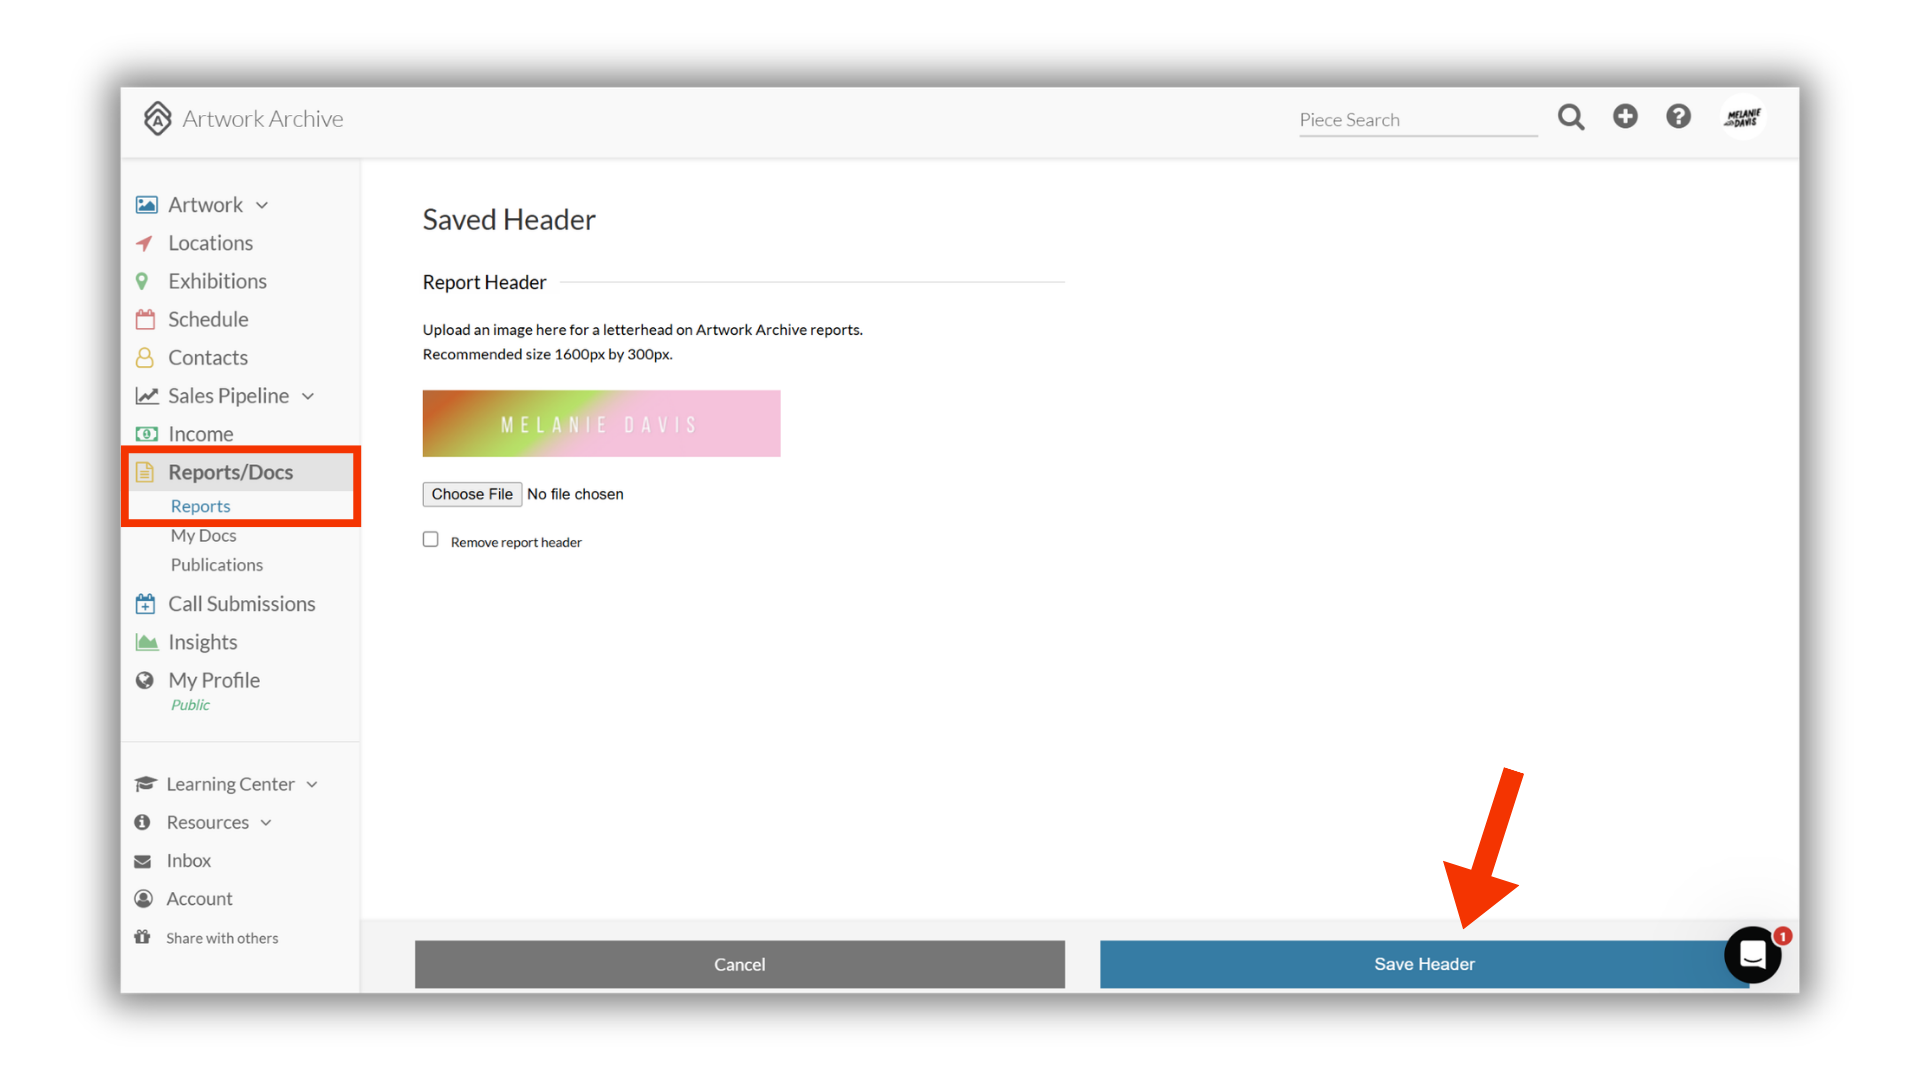
Navigate to Reports/Docs > Reports in your left-side menu
Select Saved Header at the top right of the page
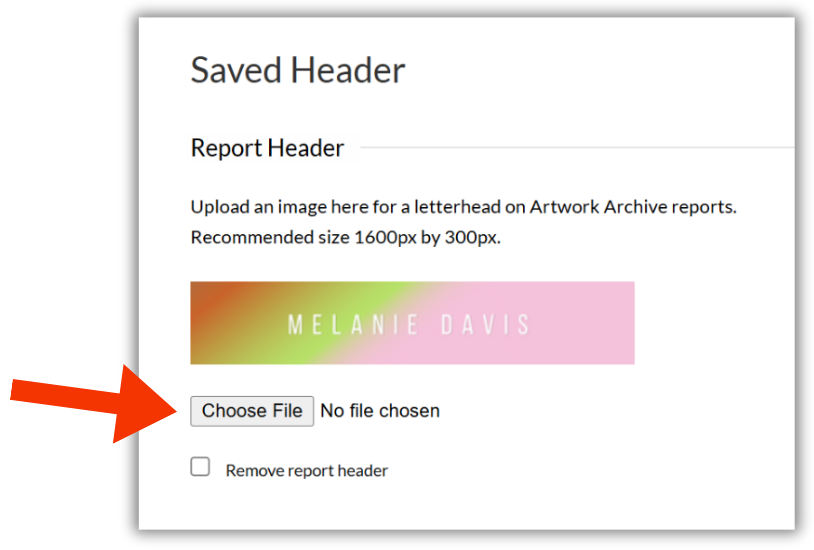
Under Report Header, select Choose File and upload an image from your computer or device
The recommended size for header images is 1600px by 300px
Select Save Header
Your header is now saved to your account and ready to include on any compatible Report.
Change or Remove Your Saved Report Header
You can swap your header image or take it off your account at any time.
Navigate to Reports/Docs > Reports and select Saved Header
To swap the image, select Choose File and upload a new one
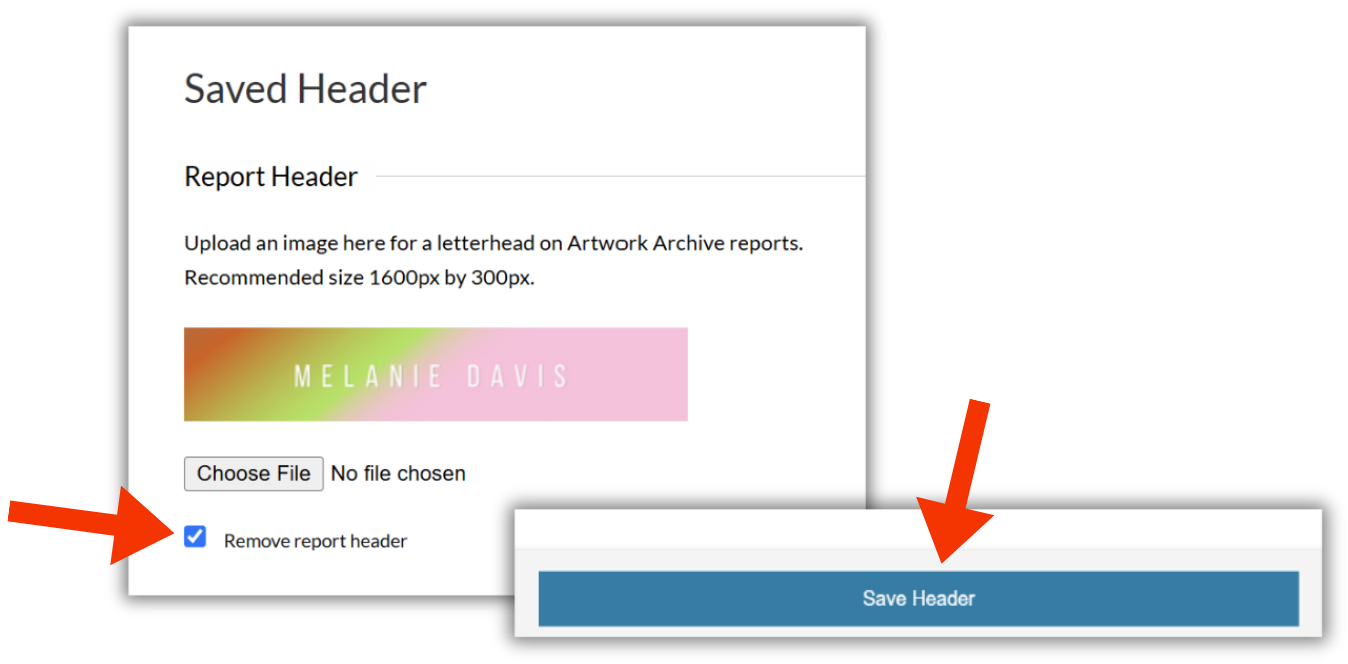
To take your header off entirely, check the box next to Remove report header
Select Save Header
Add Your Report Header to a New Report
Once your header is saved, here is how to include it when you generate a Report.
Navigate to Reports/Docs > Reports in your left-side menu
Select New Report and choose the Report type you want to generate
Select the Pieces you want to include
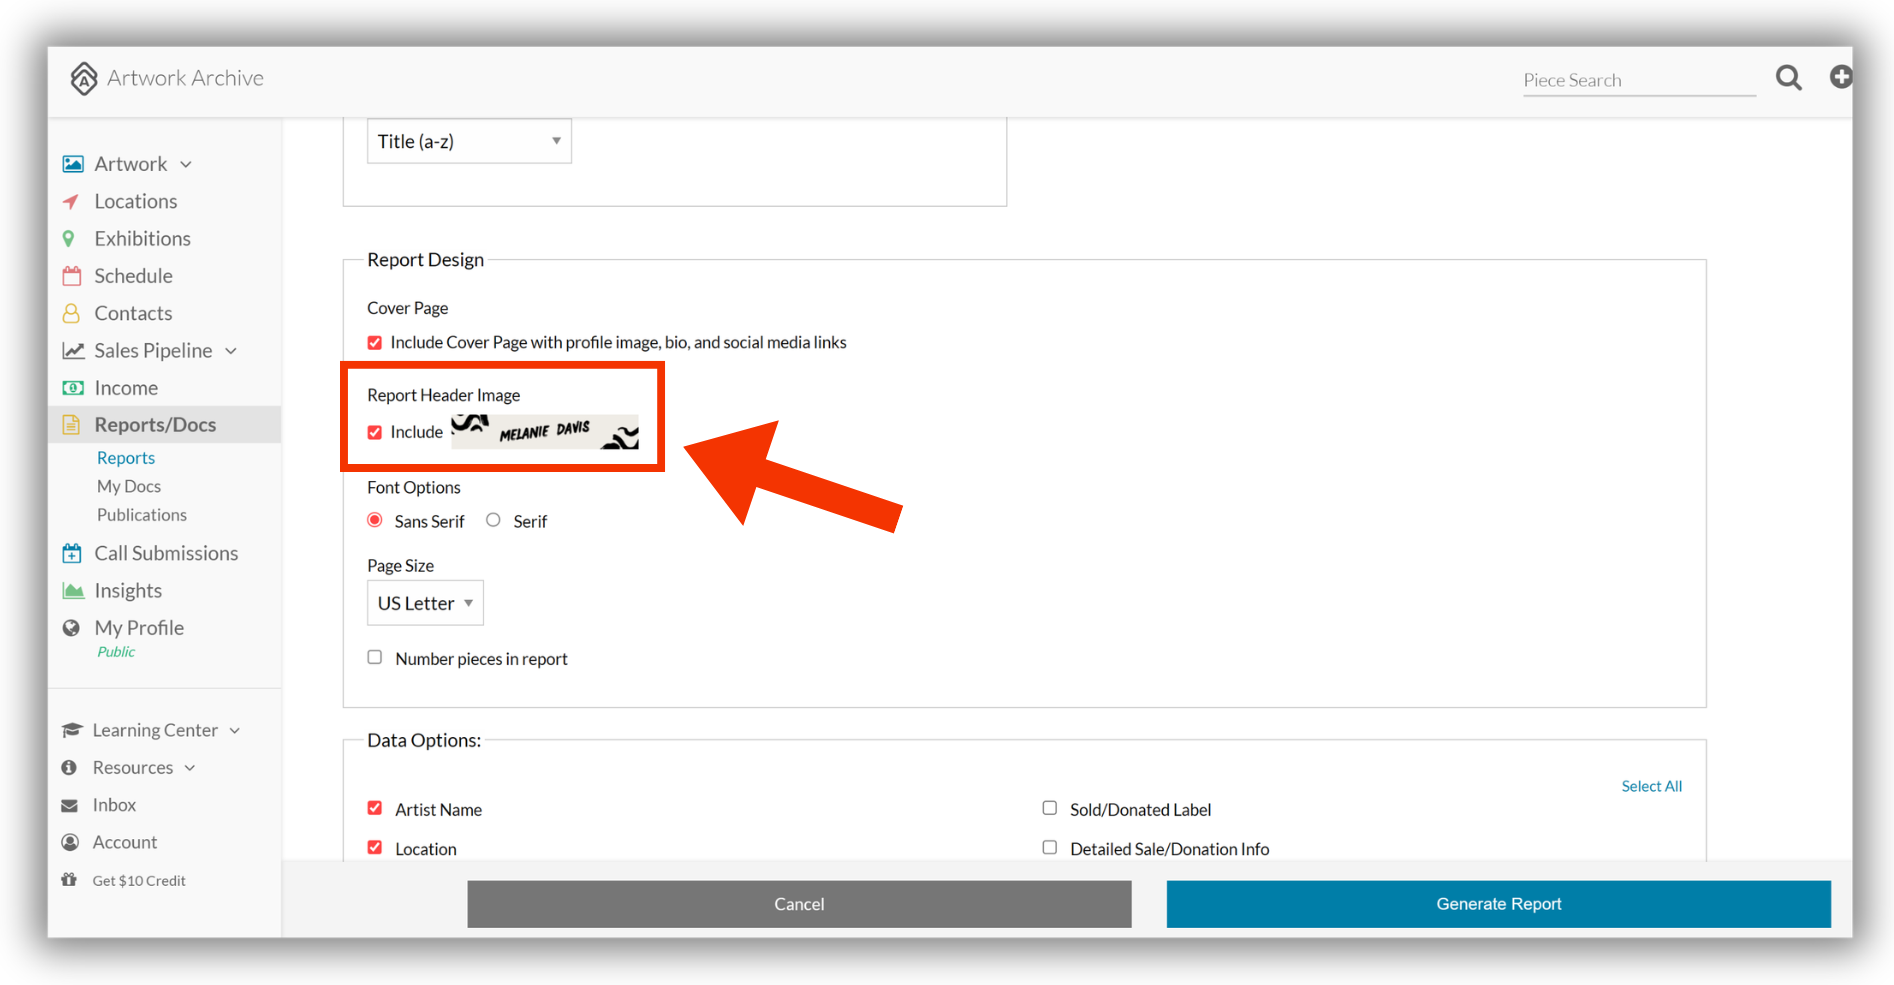
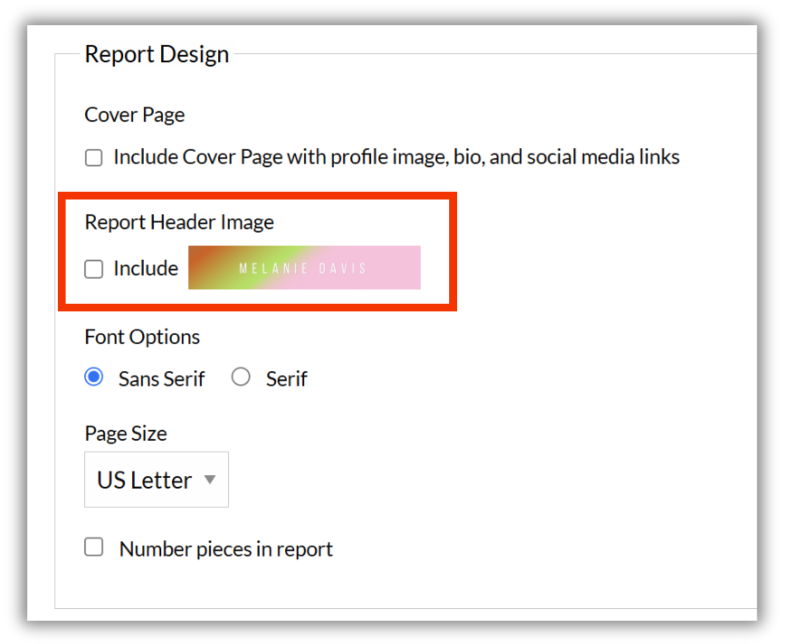
Scroll down to the Report Design section
Check the box next to Include to add your header
A preview of your header image appears to confirm it is selected
Select the remaining information you would like to include in your Report
Select Generate Report
Add or Remove a Header on an Existing Report
Already generated a Report? You can add or remove the header by editing that Report and generating it again.
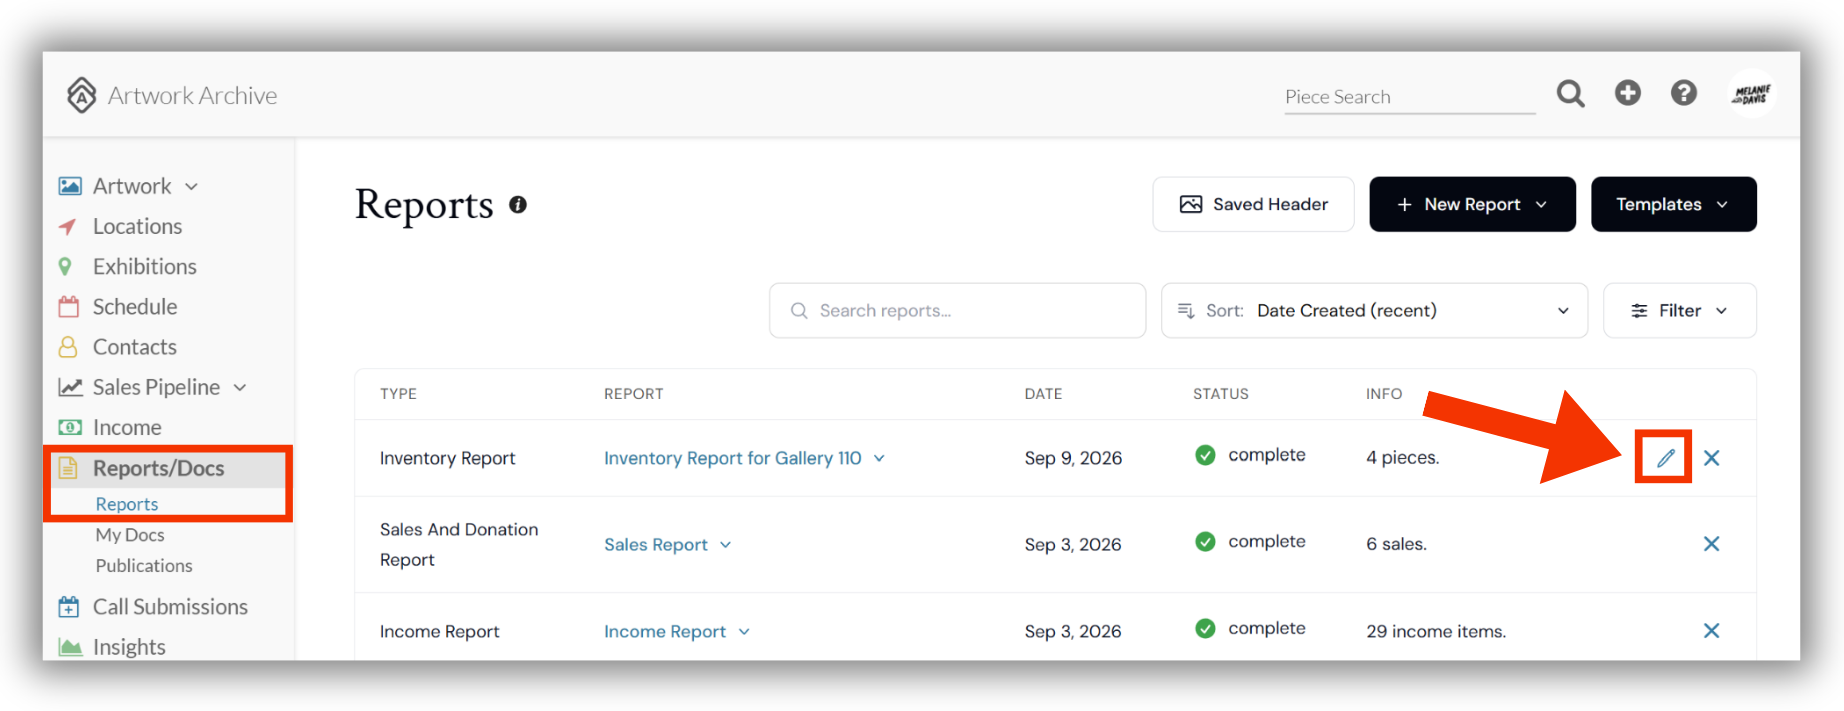
Navigate to Reports/Docs > Reports in your left-side menu
Select the pencil icon to the right of the Report you would like to update
Scroll down to the Report Design section
To add the header, check the box next to Include
A preview of your header image appears
To remove the header, uncheck the box
Select Generate Report to save the updated version
Note:
The pencil icon appears only on Report types that can be edited. Financial and contacts-based Reports cannot be edited from the Reports page. To change one of those, go back to the feature you created it from, set your filters there, and generate a new Report.
Did you know?
From creating your first Report to customizing your branding, saving templates, and choosing the right Report type for every occasion, our complete guide covers it all.